
Redditdiscussion
Whats Your Take On The Snapmaker 20 A350t With
- Print Quality-1 pts
it feels like the Snapmaker is much slower and less precise when it comes to print quality


Released Jan 2020
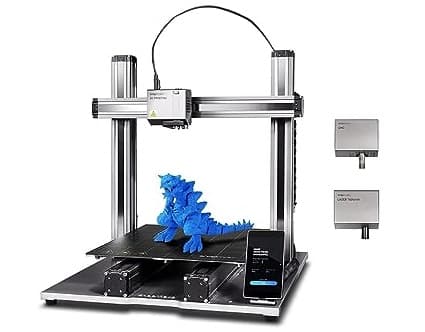
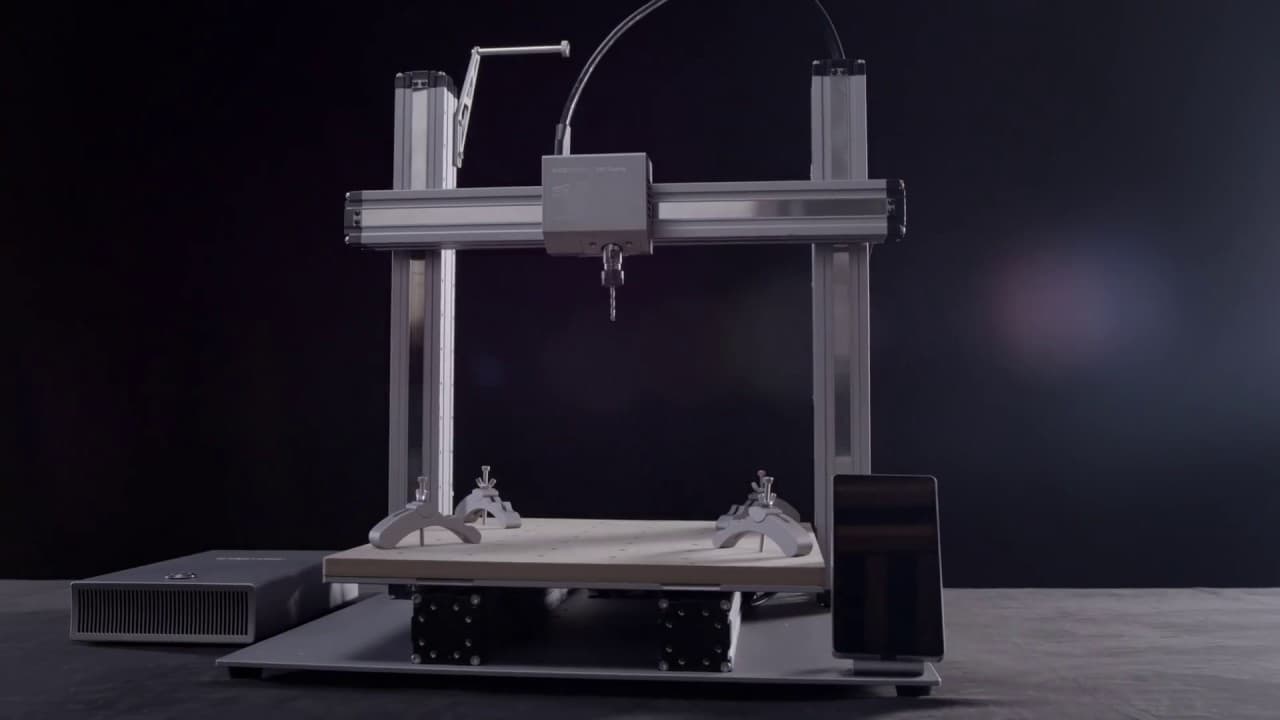
The Snapmaker 2.0 is a modular 3-in-1 3D printer that also performs laser engraving and CNC carving, offering a large build volume and expandable modules for versatile fabrication projects.
Pick a topic to see the quotes behind it. Topic points add up to the Ranking Net Score.
Total +37 pts
Whats Your Take On The Snapmaker 20 A350t With
it feels like the Snapmaker is much slower and less precise when it comes to print quality
My Accidental Snapmaker 20 A350 Review
I took my time assembling it this evening and it took something like 2 hours, so don't get in a hurry.
the A350 makes about the same amount of noise, but it's somehow less annoying
I replied to a question by u/echohosefire on the /r/snapmaker sub... but in the process I ended up pretty much writing a review, so I thought I'd share with the crowd with a few small additions: *paste* I have been a Snapmaker 1.0 owner since the first Kickstarter and I really like their stuff. I'm a sucker for machined aluminum and sturdy tools and I love that their printers are all metal instead of plastic. Now, I haven't printed on my 1.0 in a while mostly because I've been saving my projects for the bigger, badder Snapmaker 2.0 A350 like you're talking about. I ordered the A350 during the Kickstarter (May 2019) and received my printer yesterday. It is definitely bigger and badder. The box was 60+ lbs! I think I might have strained something carrying it up the stairs! I took my time assembling it this evening and it took something like 2 hours, so don't get in a hurry. The base plate everything is mounted to is 19"x20", so it's going to take up a lot of room, plus it has a separate power supply unit that's about the size of an external DVD drive. Like the Snapmaker 1.0, it's VERY solidly built and definitely not a toy. Compared to the print bed on my Snapmaker 1.0 though, this one is massive - like 13" by 14"! You might want to have a work glove for your screwdrivering hand. The included tool for assembly is machined aluminum as well... very nice, but it's a little small and rough on the hand. Oh, and I do recommend listening to their "don't tighten all the screws yet" instructions. Screw them all the way in, then back out a quarter turn so there's a little wiggle room until all the parts are ready to be firmed up. When I plugged it in and turned it on, it walked me through the initial setup including putting it on my WiFi. Then it prompted me to load my (previously acquired Snapmaker brand PLA) media. It was very simple and loaded right the first time. Nice. Next step: bed calibration. I haven't even finished printing anything yet and I am already thrilled. THRILLED. I really REALLY hated the chore of calibrating on the 1.0. This time calibration was a breath of fresh air. I watched it wander around and up and down to optically check several points on the bed, then assisted it on the last step using the paper trick (where you lower the head until it resists dragging a piece of paper and buckles it when you push). Loading the media was a breeze, too. Once that was done, I used their free software "Snapmaker Luban" on my Mac to import an STL file from thingiverse, convert to G-code, connect to the printer via Wifi and send the file. The control screen prompted me to confirm the print and we were on our way. The printer auto calibrated again, then started heating the print bed. It took longer to heat up that huge print bed, but it eventually got started, though it didn't start the clock until the printing started. I was surprised that it didn't heat the print bed before calibrating, and thought they might save time by doing both at once. The adhesion worked perfectly the first time with no glue or hairspray or tinkering. It might be "new 3d printer" behavior, but boy was it nice to worry more about what to print than whether or not it would print. Maybe I can give my glue sticks to whoever I give (or sell) my 1.0 to! Once the printing is done, the 2.0 units include a heated bed AND a magnetically attached print mat that you can remove and flex, so getting your parts off (another pain in my ass) should be simple too. I had gotten a 3rd party flexible mat for my 1.0, but never got around to using it. I guess I'll give that away with the 1.0 too. And the spatulas I bought. Right now the printer is printing a PLA test - one of those "test your 3D printer's capability" things with holes and towers and overhangs, etc. It's going to be a few hours before that's complete, so I can't report on results yet. Compared to the 1.0, the A350 makes about the same amount of noise, but it's somehow less annoying because the fan [truncated]
My Accidental Snapmaker 20 A350 Review
In the Luban software, it created the G-code for the included STL print (the vase), but the buttons for it were blocked out when I tried to import a Thingiverse STL.
is 74dB peak normal for the printer outside an enclosure?
Snapmaker 20 40w Laser Whistling Noise Normal
when I use it there's a ringing noise whenever the laser is active.
Snapmaker 20 Cnc Vibrating Too Much Screws
hey all! I'm making this thread because I'm worried I might've broken parts of my machine and I'm hoping to find answers. I bought a Snapmaker 2.0 earlier this year and just this month started playing around with the CNC. I did the test part with virtually no hiccups, so I decided to try a VERY simple part I designed myself on some acrylic I bought. I even used scrap acrylic in case there were issues with the part. Anyway, on the first attempt, I used the "Start on Luban" option in the Luban slicer, thinking it would run me through the usual calibration steps that starting on the printer did. I was wrong. The toolhead PLUNGED STRAIGHT DOWN, breaking the bit and pushing the toolhead up and out of the quick swap kit (good mechanical fuse, I guess?). Then it started spinning for a while before I hurriedly pressed "Stop". But I fear the damage was done. During the test I did afterward, the machine showed the following problems: the Bed Axis (I don't remember if the bed moves in X or Y, but I think it's Y) is now EXTREMELY loud; the Toolhead screws (the ones holding the quick swap kit to the axis, not the ones holding the toolhead to the quick swap kit) started coming loose; the axis screws (the ones that hold the X axis onto the Z axis) started coming loose; every time the toolhead pressed on the material, there was visible flex (i.e., the toolhead would touch down at a small angle, probably less than 1°, and then press down a bit, which would "straighten" the toolhead — I tried taking a video but it doesn't show too well). Also, when I tried tightening the axis screws to continue the job, I didn't notice the screwdriver stuck to the screw, and when the job tried to continue, the Z axis got stuck on the cables when trying to go up. I checked and the cables didn't bend, but I think the Z axis might've taken a hit from trying to go up while stuck on the screwdriver. Is this it for the machine? I spent so much time and money getting it to my country and I was really happy because I had finally replaced my old shitty printer.
I even used scrap acrylic in case there were issues with the part. Anyway, on the first attempt, I used the "Start on Luban" option in the Luban slicer, thinking it would run me through the usual calibration steps that starting on the printer did. I was wrong. The toolhead PLUNGED STRAIGHT DOWN
I ran the exact same G-code on my Snapmaker 2.0 on two consecutive days. On the second day, the object finished at only about 60% of its intended height.
Complete Newbie Wondering About What Addons I
the noise factor right now is the big thing stalling my longer prints. I have to pause them overnight and cover the power supply with a sound-proofed box to make it quiet enough to sleep near, since my printer is in my bedroom.
Spare Parts And Support Problem For Snapmaker 20
I am currently facing serious problems with spare parts and long-term product support.
Tap a topic to read its quotes. Topic points add up to the Ranking Net Score.